When you think of rock climbing, you probably imagine miles of rope stretched along endless slates of rock weaving in and out carefully placed carabiners. That’s pretty much the gist of it, but for an avid climber there’s way more to it than that.
First things first:
 Why is Hand Care Important for Climbers?
Climbers need their hands in working condition just as much as a rope or a harness. No climber ever wants to end a session early because of shredded up hands.
Even if you take especially good care of your hands, accidents still happen. Don’t let this stop you from ascending that route you’ve been eyeing all day.
Prevent flappers and split tips before they happen by following a few simple hand care tips, and learn how to take care of your hands in between climbs to strengthen your skin.

How to Take Care of Your Hands Before Climbing
Healthy hand care for a climber consists of preventative care, active care, and post-climb care. You might focus on one in particular, but practicing a healthy dose of all three are going to improve the quality of your hands drastically.For starters, be mindful to keep your hands washed. Washing your hands before a climb helps remove oils or sweat that can affect your climbing.
Since you’ll be doing a lot of hand washing, look for a soap geared towards your skin. Climbers with overly dry hands should look for a moisturizing cleanser. Likewise, climbers with sweaty hands can use bar soap to degrease their hands of excess oils.
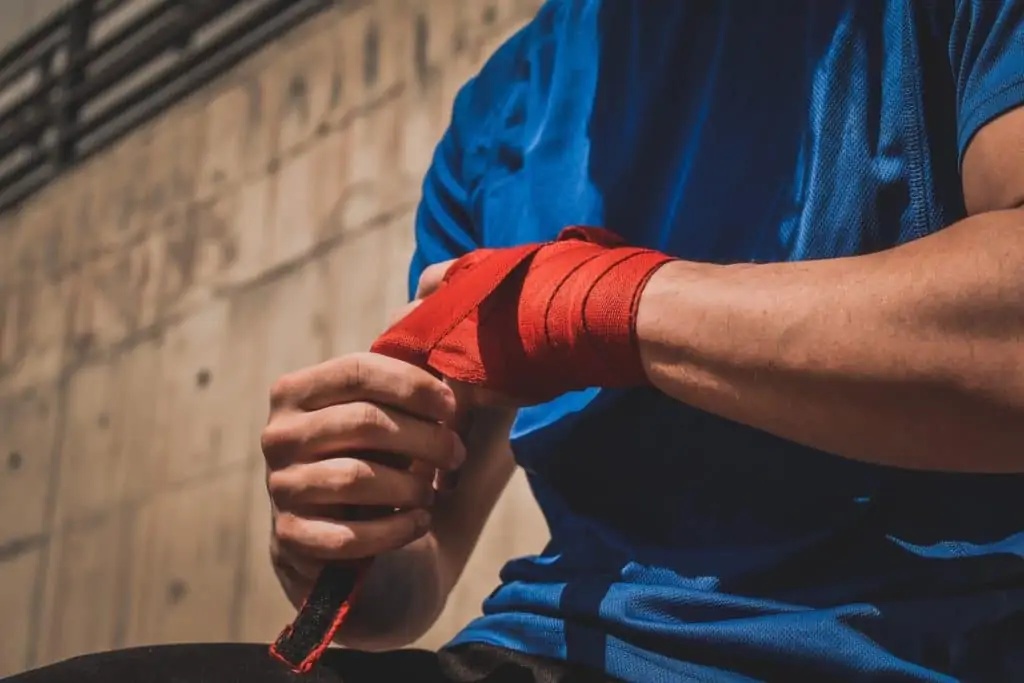
Once you’re ready to climb, check out your hands to see if there’s any rips or tears that could use a little TLC. If you already have a flapper or split tip that’s still in the process of healing, use climbing tape to wrap it up. The tape will offer sensitive skin an extra layer of well-needed support.
Now that you’ve taken care of the not so pretty parts, look over your hands for any calluses or rough edges that could catch on a rock. Smooth them away using a nail file or a pumice stone to avoid getting new flappers. If there’s a piece of callus that needs to go, use nail clippers to cut it off.
Be mindful only to get rid of the dead skin, so you leave as much undamaged skin as possible. Ultimately, the goal is to have a smooth layer of thick skin across your whole hand.

How to Prevent Climbing Skin Injuries During Climbing
Between climbs, look to see if any part of your hand seems particularly angry. If you notice one of your calluses begins to pinch up on one side, try to press it down and flatten it back out. You're quickly entering flapper territory, so take a short break before climbing again to let the skin cool down.Warm skin can split much easier when you’re climbing, so taking a quick rest can be beneficial towards preventative hand care.
It’s not realistic to wash your hands after every route, nor is it necessary. However, it doesn’t hurt to maintain cleanliness when climbing with damaged hands.
Using a little of water and some Purell can help get rid of dirt or chalk that could enter a future cut. It will also help rid your hands of any leftover oils from snacks.
Once your hands are clean, tape up anything that concerns you. The tape will keep the torn skin from splitting worse and provide an extra layer of protection.

What to Do After Your Climbing Session for Hand Care
Getting into an evening hand care routine is one of the easiest ways to take care of your skin. Step 1 of daily hand care is taking a minute to assess the damage on your hands. Some days will undoubtedly be less cringe-worthy than others. It's essential to learn when your skin needs a break.First things first, change out any bandages used during your climb. They’ll be covered in chalk and dirt, which is asking for an infection. Always make sure to wash your hands. If leftover chalk stays on your hands, it will keep drying them out for the rest of the day.
You want to stay away from dry skin because it makes it harder for the skin to heal. Plus, you want to make sure you’ve thoroughly cleaned out any wounds on your hands.
Check for new micro tears or cuts, and disinfect them using an anti-inflammatory or anti-bacterial ointment. Neosporin with pain relief handles both and is easy to take on climbs with you.
Next, you’ll want to bandage up any flappers, split tips, or ripped skin. Leave the skin covered for a couple of hours then uncovered for a couple of hours. Leaving it uncovered allows the wound to dry out. If you have the time between climbs, do this a couple of times, and your hands will heal much faster.
Then, take your filer of choice and smooth out any patches of rough skin or calluses. Make sure to take your time on those calluses. If taken care of properly, calluses are the building blocks to perfect climbing hands.
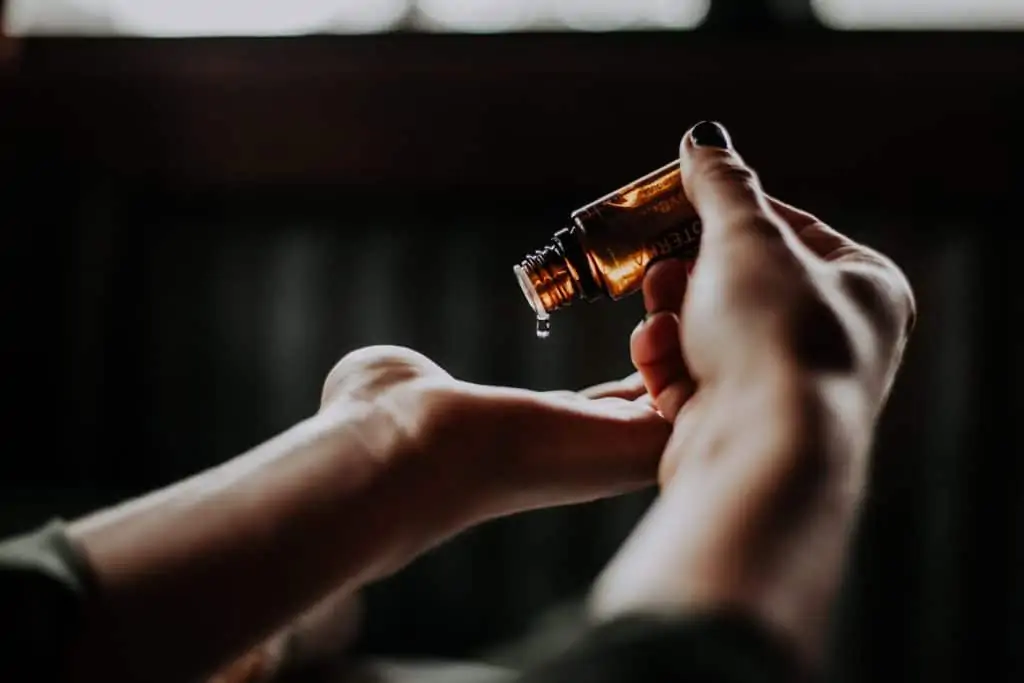
Once your skin is smooth to touch, leave a salve or moisturizer on your hands overnight. Put a little extra on your tips if they’re extra sensitive. The balm will prepare your hands for climbing the next day.

How to Handle Climbing Skin Injuries
1. Split tipsSplit tips are known for being one of the most painful skin injuries for a climber. Chalk, dry air, and extreme climbing are the perfect ingredients for a split tip.
If you’re dealing with a new split, stop the bleeding first. Then, use a liquid bandage or New Skin to fill in the cut so that the fingertip skin is smooth and flush. Allow the New Skin about 20 minutes to dry, but don’t let it dry out all the way.
If you’re dealing with an older split tip, use nail clippers to cut away any dead skin around the split. Next, use a filer to make the skin flush as possible. If the wound is closed, you can apply a thin layer of crazy glue on top of it to create an extra layer of “skin.” If the injury is open, avoid direct contact with crazy glue.
Once you’ve added the first layer of protection, tear a thin strip of climbing tape and begin wrapping the split starting from the joint below the split. Use thinner strips of tape to allow more flexibility in the fingers. Keep wrapping your fingertip until the split till it is sufficiently covered.
Evolv Magic is a type of finger tape that works exceptionally well for split tips and flappers due to its thinness and grip-like texture.
Now that the split is covered, use crazy glue around the edges of the tape to hold it down in place. After climbing, use warm water to wash away the glue and remove the bandage.
Clean it out and let it air dry. A split tip can take up to a full week to heal. Make sure and give your hands the time they need to improve, or you’ll end up not being able to climb for longer.
2. Flappers
Flappers can happen anytime and on any part of your hand. Knowing how to patch a flapper on the spot can make sure your climbing session doesn’t have to end early.
They typically occur from a callus getting caught on a rock. It can happen when falling from a route or just by grabbing a rock in the wrong place.
If you’re not ready to call it quits, the easiest way to take care of a flapper is to tape it. Rinse it out with some water and stop the bleeding by packing it with powdered chalk. Then use climbing tape to seal it up.
If you’d rather take care of it then and there, grab a pair of nail clippers from your pack, and use them to cut off the flap of skin.
You’ll want to cut the flap as close to the base as possible, avoiding any healthy skin.
Rinse it out and clean it with antiseptic. Allow it to dry out before wrapping it in a bandage. You can also use a climbing salve on a flapper to help it heal faster.
Some climbers say they’re able to reattach the flapper skin by taping it or gluing it down to the surrounding t skin. This approach typically doesn’t work and causes the skin around the wound to become soft and moist, where it tries to reattach. The best bet is to cut off the dead skin and let your body regenerate it naturally.
3. Worn Down Tips
After a couple of days of climbing, your tips might begin to turn pink and tender. Taking a day off from climbing will allow your skin time to repair itself. However, if you’re at the end of a climbing trip or you don’t feel like waiting a day, there’s a way around it.
Wrap worn down tips with some climbing tape. When using climbing tapes, pay attention to how your joints feel. Climbers tend to overuse their grip when their fingertips are taped.
Use rubbing alcohol on your fingers to remove any flaky skin due to dryness. You want to stay away from flaky skin because it’s slippery, and one more thing to catch on a rock.
Antihydral is an antiperspirant cream that you can use for worn down tips. It helps block out excess moisture that might be causing the irritating feeling when you climb.
It’s a strong ointment, so begin with a light amount on the tips for a couple of hours at a time. Once the skin becomes used to it, you can leave it on overnight.
4. Calluses
Here’s the deal, calluses are tricky. They can be useful to a climber, but they can also cause flappers. Consistent climbing is the best way to toughen up the skin and create calluses.
Once those calluses become thick in some places, be sure to file down any raised pieces of leathery skin. To file away calluses, you can use fine sandpaper, a nail filer, or a pumice stone. You ultimately want your calluses to be flush with the rest of the skin while still offering a thick layer of protection.
When taking care of the calluses on your hands, focus on keeping them from drying out as well. Once calluses become dry, they start to split and crack. If they do become dehydrated, it might force you to put down the chalk for a couple of days.
However, try not to moisturize too close to a climb. You want your hands to be able to heal, but getting them lathered up right before a climb is counterproductive.
If you’re climbing and a callus rips off, then you’ve entered flapper territory. You can avoid this by grooming your calluses over time, so they work for you and not against you. Keep in mind that developing calluses is especially helpful for outdoor climbing because the rock tends to be more crystalized.

Other Skin Care Tips for Climbers
Covering a Ripped Callus Across the PalmGrab some athletic tape and a pair of scissors. Keep in mind the goal of taping is to apply pressure without restricting mobility. If you keep your hand stretched out as you tape, then it will allow you more wiggle room while you’re climbing.
Begin the tape on the side as the torn callus or blister. Wrap the tape around your hand once and pull it tight. Use your finger to take the tape at a 90-degree angle between your middle and ring finger.
At this point, the tape should be behind the middle of your hand. Bring it around the palm on one side. Then, bring the tape between the two fingers again. Then do the same on the other side. Now that both sides are secure wrap the entire hand once more across the middle.
For a little extra support, you can wrap the tape again around the curve of the palm and then the thumb. This stops the tape from creasing too terribly.
Hydration
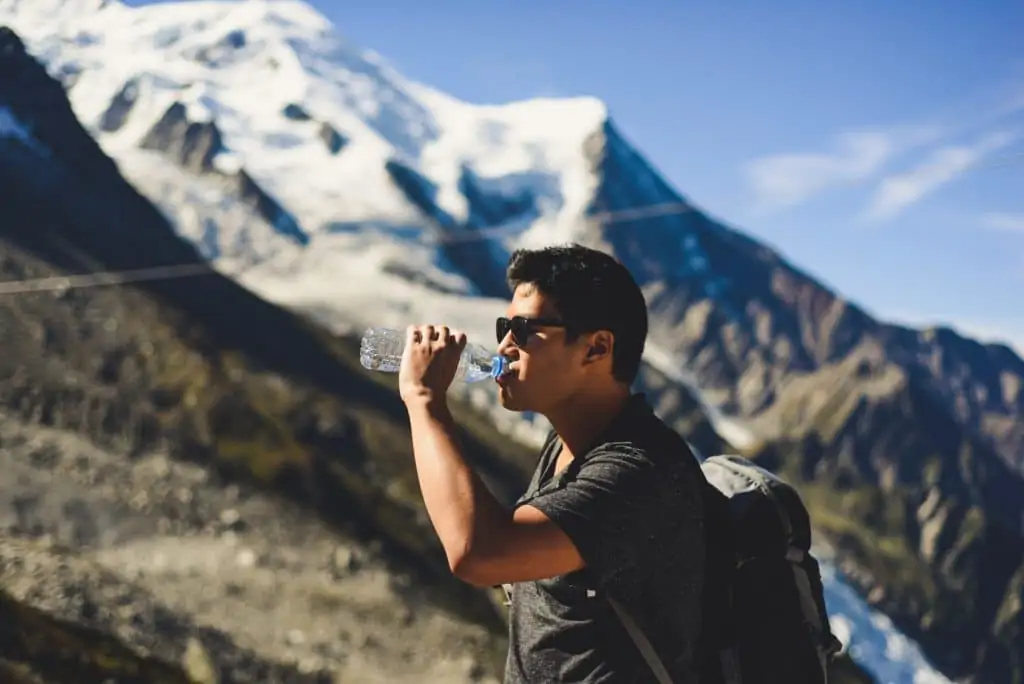
Hydration might be one of the most critical areas of attention in devoted hand care. Our skin is the largest organ of the body, and 64% of that is water. If your body is dehydrated, it’ll show in your skin. Water is the easiest and cheapest resource you can get your hands that will give you reliable climbing skin.
If you’re wondering how much water you should be drinking a day, take your weight and divide it by half. That is how many ounces you should try and drink every day. Keep in mind that number increases if you work out, you’re in excessive heat, or you’ve consumed alcohol. Keep a reusable water bottle on you even when you’re not climbing. If it’s insight, you’re more likely to drink it.
Diet
Hey climbers, stay mindful of what you eat. A whole food-centered diet means your skin is flourishing with the nutrients it needs to make hand care that much easier.
Try to stay away from greasy or processed foods. They typically don’t have too many health qualities to offer your skin. Foods full of omega-3 maintain your body’s oil production, which helps cut down the oiliness of your hands. Take it as a vitamin or try introducing more fish full of omega-3 into your diet.
Liquid Chalk
Regular chalk is great for creating some friction between your skin and the rock. Friction helps us avoid tearing up our hands too badly.
Liquid chalk does the same thing but at a slightly higher performance level. It’s easier to carry around, leaves less of a mess, and it stays on your hands longer. It’s especially useful for applying chalk to specific areas on your hands.
The only difference between the two types chalk are the base ingredients. Regular chalk is made from Calcium Carbonate, while liquid chalk is made from Magnesium Carbonate. Liquid chalk is suspended in alcohol to keep it in a liquid form.
Once it’s on your hands, it quickly dries into a chalky layer of skin. You can buy liquid chalk at just about any outdoor store, but you can also make it at home. Use two parts powdered chalk to one part rubbing alcohol and voila!

FAQ on Hand Care for Climbers
Skin care tips for climbers doesn’t stop at patching flappers and taping split tips. The more you climb, the more opportunities you’ll find to give your hands all the love they need.When to Use Liquid Bandages vs. Climbing Tape?
Liquid bandages, like New Skin, are most useful when a skin injury is fresh. It stops the bleeding, so you're not that person leaving blood on all the holds. It creates another layer of skin to protect the open wound, and it seals off the uneven surface.Climbing tape can be used for various hand care reasons. It protects worn down tips or fresh cuts, as well as calluses and flappers.
Be mindful of placing gauze in between an open wound and the tape, so more skin doesn’t come off with the tape.
Metolius Climbing Tape is a well-known choice that is easy to rip and uses a crazy strong adhesive.
Another well-known climbing tape is Leukotape. It’s known for preventing blisters and working well in moist or wet conditions. It does run a little pricey, but it can be used for any type of athletic purpose.
Liquid bandages and climbing tape work well on their own but work best when paired together. Be prepared and try to keep both handy for the ultimate hand care kit.
Are Climbing Salves Worth It?
Salves are beneficial for skin repair but not crucial for skin recovery. Regardless, your skin will heal on its own, but using a salve does hasten the process.
Climb On is a popular salve that comes in lotion bar form. Use a salve overnight to trap moisture in your hands. It helps climbing wounds heal faster by trapping the moisture between your hand and the ointment.
O and Joshua Tree are some other well-known salves that might work for you. There are salves out there from vegan to cruelty-free. Each has its own small differences that might appeal to you more than others. Everyone’s skin is different. Play around with a couple salves and see which one works best for you!
We go over the best climbing balms and salves in this post.
Should You Moisturize Your Skin?
Hand moisturization is one of the fundamental building blocks for climbers. Some climbers believe that dry hands are the way to tough, resilient skin. Realistically, dry skin can crack easier, and it takes longer to heal.Your skin can heal on its own, but moisturizing will help it regenerate faster. Consistent climbing plus moisturizing will get you the ultimate climbing skin. Moisturizing your hands helps the skin become supple and elastic.
If you have parched hands before a climb, moisturizing them at least an hour or two in advance so your skin has time to soak up the goodness.
Should You File Your Nails?
A general rule of thumb in climbing hand care is anything that can catch on a rock probably will at some point.Always try to have nail clippers and a nail filer in your climbing pack to keep those nails in climbing-ready condition. Having short nails is just one more way to avoid hurting your hands any more than necessary. Also, the sound of fingernails scraping against rock isn’t all that great.
Use the clippers to cut your nails down, so there’s still a white line left across the top. If you’re still scratching the walls when you climb, you haven’t cut your nails down enough. On the other hand, try not to cut them so low that it begins to sting because it becomes distracting during a climb session.
Filing down the sides of your nails is how you get rid of hangnails, and avoid catching any nail edges on a rock.
That’s the gist of it, folks! Whether you’re a novice climber or have been doing it for years, make sure hand care is on the top of your list. Get into a healthy habit of staying hydrated and eating well.
Come up with a nighttime routine that’s easy to follow. Remember to keep hand care first aid with you while you climb in case of accidents. Once you’ve got these fundamentals of hand care down, you’ll begin to notice how your ability to climb becomes freer and bolder.
If you found this post helpful, you’ll probably find our posts on the best climbing balms and best pumice stones useful too. Take care of those hands!
Did you find this helpful? You may also enjoy our other climbing tips here.
Be sure to also check other useful articles here:
> Liquid Chalk vs Dry Chalk: The Ultimate Guide